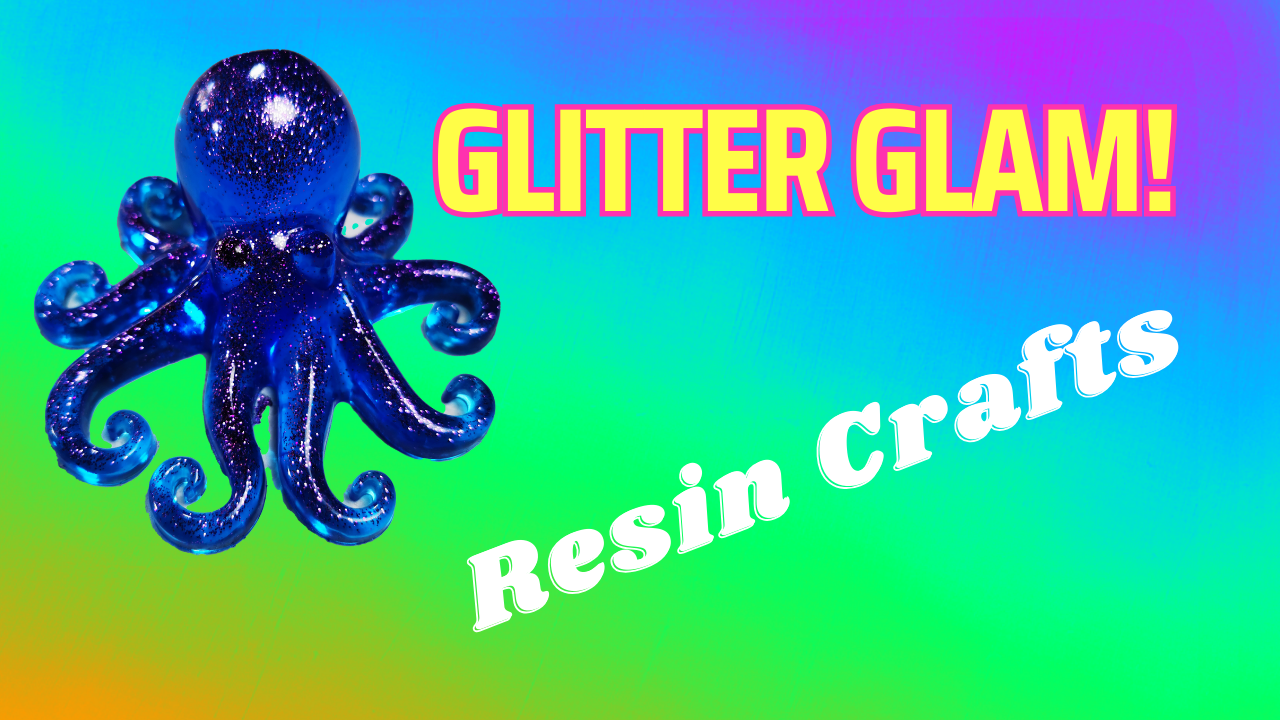
Hey there, resin art enthusiasts! It’s Andy from Andy’s Art Lab, and today I’m going to show you how to add a little sparkle and pizzazz to your resin creations with glitter. Yes, you heard it right, we’re going to get a bit CRAZY with glitter in this guide.
Embracing the Glitter Magic
When I first started working with resin, I was a bit hesitant about using glitter. I wasn’t sure how it would affect my artwork. But let me tell you, once I started using it more frequently, I discovered that glitter has some truly amazing properties. It has the power to take your resin art to the next level, making it pop with style and shine.
What the heck is Glitter?
Glitter is tiny pieces of reflective material, usually plastic, that are used for decoration. It can be added to a variety of materials, including paint, glue, and resin. Glitter is often used to create a sparkly or shiny effect. It can also be used to add color or texture to a project.
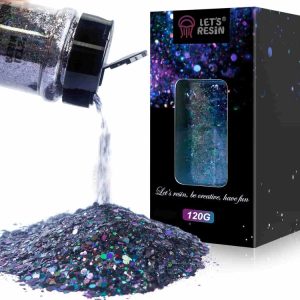
Glitter can be found in a variety of colors and shapes. It can also be found in different sizes, from very small to very large. Glitter is often used in arts and crafts projects, but it can also be used in clothing, jewelry, and other decorative items.
Glitter can be a fun and easy way to add a touch of sparkle to any project. It is a versatile material that can be used in a variety of ways.
Glitter vs. Mica Powder
Before we dive into the glittery world, let’s address a key difference between glitter and mica powder. Mica powder is finer and sticks better to silicone molds than glitter (See my Mica Powder article). If you want to create detailed highlights, mica powder is your go-to. However, if you’re looking to add a sparkling, reflective touch to your resin art, glitter is the star of the show.
Choosing the Right Glitter
You can find glitter at most places that sell resin supplies, and I’ve got some handy links down below in case you’re an online shopper. Remember, you can never have enough glitter in your life, so why not add it to your resin as well?
Prepping Your Materials
Now that we’re all hyped up about sparkling glitter, let’s get down to business.
Here’s what you’ll need:
Resin
Glitter
Silicon mold (I’m using my Octopus and French Bulldog)
Brushes (small and fine-tipped)
Mixing cups and stir sticks
Safety gear (gloves, respirator mask, and eye protection)
Mixing Glitter with Resin
When you’re ready to get your glitter on, mix it into your resin. Even if your resin is already colored, adding glitter can take it to a whole new level of sparkle. The glitter’s reflective properties often shine brighter than the resin’s color itself.
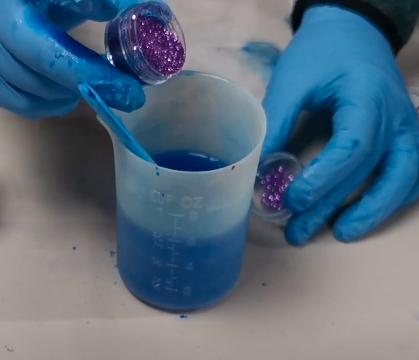
Some say you can never have too much glitter. However, when it comes to adding glitter to your resin, the golden rule is to strike a balance. The amount of glitter you add should complement your artistic vision without overwhelming the resin. As a general guideline, start with a conservative amount of glitter, especially if you’re new to this technique. A teaspoon or two of glitter per cup of resin is a good starting point.
You can always adjust this based on your desired level of sparkle. Remember, it’s easier to add more glitter if you want extra glitz than it is to tone it down once it’s mixed in. So, embrace the art of experimentation and find that perfect glitter-to-resin ratio that makes your creations truly shine!
Pouring Resin: The Slow and Steady Way
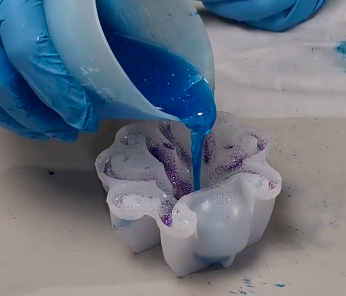
Now, let’s talk about pouring resin. Whether you’re a beginner or a seasoned pro, pouring slowly is key, especially when you’re working with molds that have intricate details. You want the resin to spread evenly, so pour it gently and steadily. Avoid overfilling your molds; it’s much easier to add more resin than it is to clean up an overflowing mess. It takes practice and I quite often have a habit of making my resin go outside the lines.
Resin Safety Reminder
Before we move forward, let’s not forget about resin safety. It’s crucial to protect yourself when working with resin. If you’re new to this, I’ve got a detailed resin safety guide (link here) that covers all the basics. Safety first, my friends!
Using Excess Resin
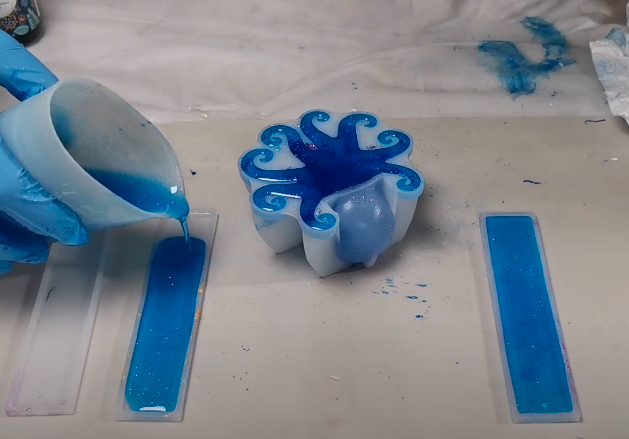
As you gain experience, you’ll notice that estimating the right amount of resin can be a bit tricky. More often than not, you might end up with extra resin on your hands. That’s where having extra molds comes in handy. You can use them to create smaller projects and make the most of that excess resin. I like to make bookmarks with the excess as they are quick to decorate and don’t use up much resin to create. I have even started to collect not quite cured resin off my silicon mats to reuse in some of my silicon molds.
Your Support Means the World
Before I unveil our glittery masterpieces, I want to take a moment to thank you for being a part of the Andy’s Art Lab community. Your support and feedback mean the world to me, and I’m thrilled to have you on this creative journey with me. If you are not already a part of the community head across to YouTube and give the channel a follow and sign up to our email list below. Now, let’s get back to the glittery fun!
Making it real
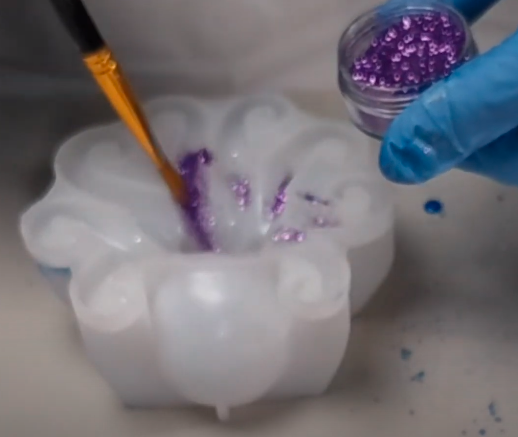
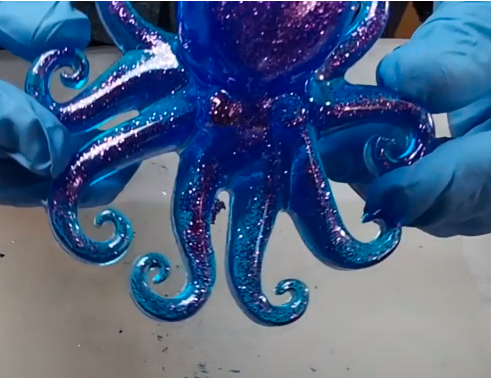
For this demonstration on adding glitter in my resin molds I have chosen my Octopus and French Bulldog as the resin test subjects. For the Octopus I used a technique I use all the time with mica powder and that is to brush on glitter to the silicon. Now glitter doesn’t really stick that well to the mold but it positions it in areas ready for the resin to be poured. I also add glitter to the colored resin ready to be poured into the mold. If you watch the YouTube video above you can see how I do this.

Unveiling the Glittering Octopus
Ladies and gentlemen, it’s the moment you’ve been waiting for – time to unveil our glittery octopus creation! This mold was a bit tricky due to its delicate tentacles, but with patience and care, we managed to bring it to life. The glitter truly adds that extra dimension and sparkle, making this octopus a true work of art.
Glitter in Action: French Bulldog Edition
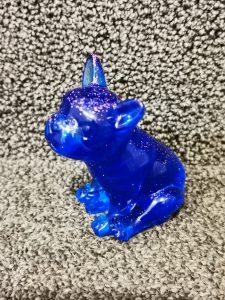
But wait, there’s more! We’re not done yet. Next up is our French Bulldog mold, decked out in the same mesmerizing blue and glitter combo. This adorable little pup really knows how to shine. It’s a fantastic ornament for any dog lover, especially those with a soft spot for French Bulldogs.
Share Your Thoughts!
I’m eager to hear your thoughts on using glitter in resin art. Do you love the sparkle it adds, or do you have your own glittery tricks up your sleeve? Share your opinions in the comments below; I’d love to chat with you and learn from your experiences.
In conclusion, adding glitter to your resin art is a fantastic way to elevate your creations. It’s a fun and magical way to make your pieces truly shine. So, don’t be shy – get glittering, experiment, and let your creativity sparkle!
If you enjoyed this guide, then don’t forget to join the Art Lab community by subscribing to my newsletter in the sign-up box below. You will also get a free guide in your first email! Stay tuned for more exciting resin art adventures right here at Andy’s Art Lab. Until next time, keep creating and keep glittering!!


