


Hey there, resin art enthusiasts! It’s Andy from ‘Andys Art Lab,’ and today, I’m excited to share a step-by-step guide on using mica powder to highlight specific parts of your resin artwork. In this example, we’re diving into the world of skull molds with a twist – a snaky surprise! So, grab your brushes, and let’s add some shimmer and shine to our resin masterpiece.
What is Mica Powder
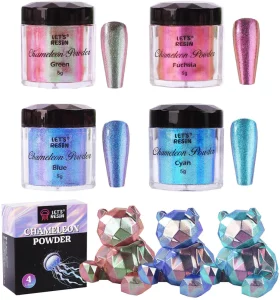
Before we jump into the nitty-gritty of highlighting, let’s talk about mica powder itself. Mica powder is a fantastic tool in the resin artist’s arsenal. It’s a finely ground mineral that comes in various colors and adds a touch of sparkle to your creations. Here’s why I love it:
1. Versatility
Mica powder can be mixed with resin to create beautiful, shimmering effects, or it can be used dry to dust the surface. It’s like fairy dust for your artwork!
2. Color Variety
From dazzling golds to deep blues, mica powder offers a wide spectrum of colors to choose from. You can easily find the perfect shade to complement your project.
3. Enhancing Details
One of its most magical properties is its ability to accentuate the fine details in your molds. This is where the highlighting technique comes into play.
Prepping Your Materials
Now that we’re all hyped up about mica powder, let’s get down to business. Here’s what you’ll need:
Materials:
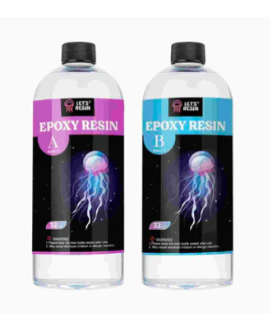
– Resin
– Mica powder (color of your choice)
– Silicon mold (I’m using a favorite skull mold with a snake design)
– Brushes (small and fine-tipped)
– Safety gear (gloves, respirator mask, and eye protection)
Step 1: Mixing the Resin
Begin by mixing your resin according to the manufacturer’s instructions. Make sure to measure it accurately and stir thoroughly to minimize bubbles. Safety first – don’t forget your protective gear! (You can read our blog or see my YouTube video on Resin safety)
Step 2: Adding Mica Magic
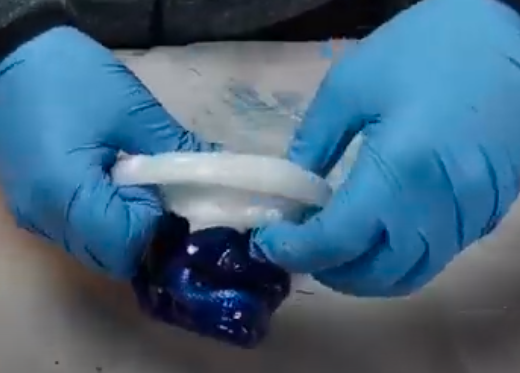
Now, here’s where the fun begins. Take your chosen mica powder (I recommend a metallic color for that extra oomph) and turn your silicon mold inside out! Thats right! turning it inside out makes it easy to apply the mica power to the areas you want to highlight with mica powder. Using a small brush, gently apply it to the areas you want to highlight. In our case, it’s the snake! The snake in this mold goes all around the skull and inside and out of it so take your time to ensure you have all parts covered.
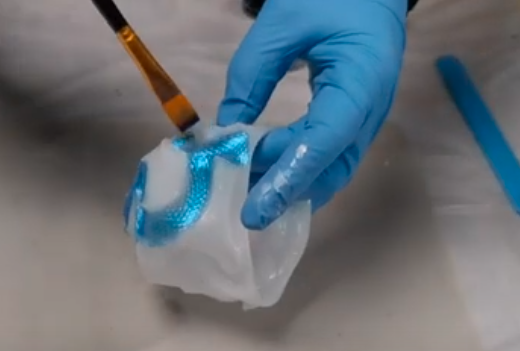
Pro Tip: Start with a small amount of mica powder and build up the intensity gradually. This allows for better control over the shine.
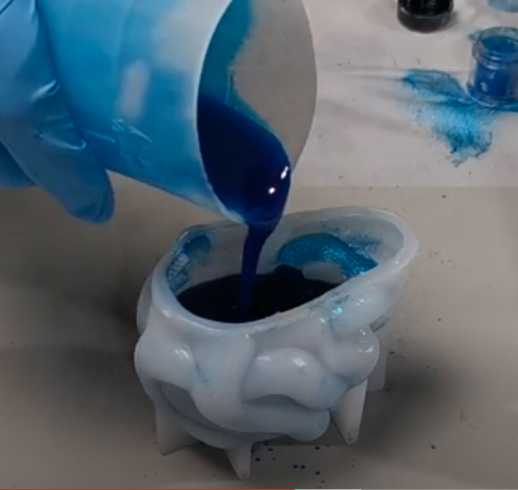
Step 3: Applying the Resin
This is where you pour your mixed resin into the mold. It is best to add a color to your resin and I have found it works best using a dark color when you are doing this highlight technique with mica powder. I used a Dark Purple as I was actually out of black pigment paste to make an opaque resin.
Step 4: Curing Time
Let your resin cure according to the manufacturer’s instructions. This can take anywhere from 12 to 48 hours, depending on the type of resin you’re using. Be patient – the results will be worth it!
Step 5: Demolding and Admiring
Once your resin has fully cured, carefully de-mold your skull with the highlighted snake (Or whatever mold you have decided to try this on). The details should shine brilliantly, drawing all eyes to that snake centerpiece.
Extra Tips and Ideas
Let’s dive into a few extra tips and creative ideas when creating resin artwork:
1. Mixing Mica Colors
Experiment with blending different mica powder colors to create custom shades. This can add depth and dimension to your highlighted areas.
2. Glitter Galore
For a touch of extra sparkle, mix fine glitter with your mica powder. This is perfect for adding a magical, mystical touch to your resin creations.
3. Protective Coating
Consider adding a clear resin topcoat to seal and protect your artwork. It’ll not only enhance the shine but also keep your masterpiece looking flawless.
4. Customizing Your Mold
Think beyond the snake! Customize your resin skull (or the mold you are using) with various themes, colors, and even glow-in-the-dark mica powder for a hauntingly cool effect.
And there you have it, my resin-loving friends! A step-by-step guide on using mica powder to highlight specific parts of your silicon mold to make some great artwork. With a little creativity and patience, you can turn any silicon mold into a shimmering masterpiece that’s bound to turn heads.
Remember, resin art is all about experimentation and having fun. So, grab those brushes, get messy, and let your creativity flow! Until next time, happy crafting from ‘Andys Art Lab.’
I hope you found this article informative. I would love for you to join my community. You can do this by completing the form below as well as heading over to YouTube and subscribing to my channel. Thanks for your support.