


Welcome to Andy’s Art Lab, where ordinary objects morph into extraordinary masterpieces with a sprinkle of creativity and a dash of resin art. Today, we’re about to embark on a journey that will take your resin game to a whole new level. Join me as I unveil the mesmerizing process of crafting resin-coated coasters that seem to capture glistening water droplets frozen in time.
Crafting Conversational Coasters
Imagine this: your morning ritual involves setting down your steaming cup of coffee on a coaster that seems to cradle delicate water droplets. It’s an invitation for conversation, a visual symphony that awakens curiosity. They are so simple to make, so let’s make some together!
UV Resin Art Droplets
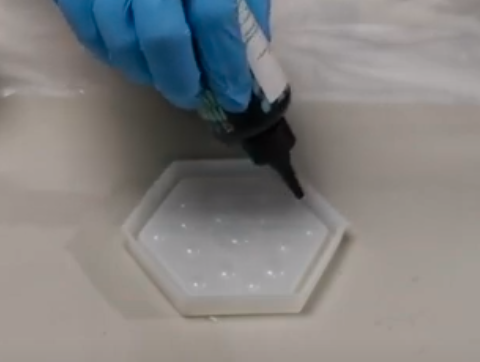
Our journey begins with the enchanting UV resin droplets. These tiny orbs, resembling dewdrops suspended in time, are placed on the coaster mold. Place Each droplet from your bottle of UV resin in a random pattern. Make these droplets random sizes and they don’t have to be perfect circles either.
Illuminating UV Spotlight
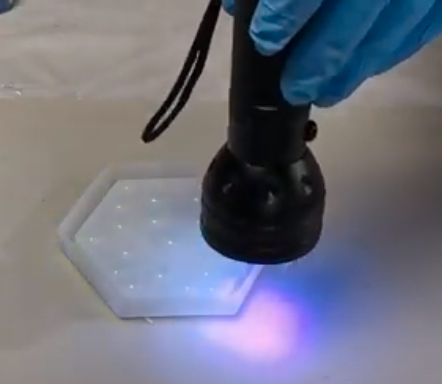
The next step introduces the droplets to their best friend – UV light. You can get a variety of different UV lights, I have a torch/spotlight with UV light that has a wide beam. Through the magic of UV light, the resin droplets harden over a period of a few minutes.
It’s always good to touch test the UV resin to ensure the UV light did the trick and they are hard.
Mica Powder Infusion
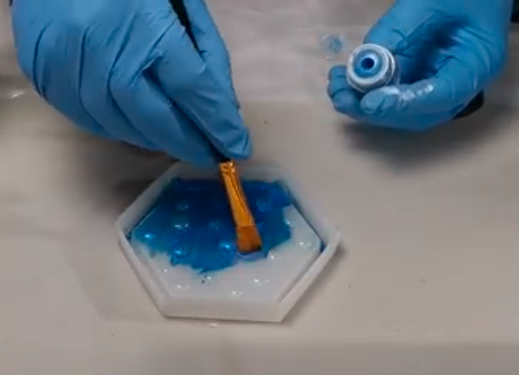
Mica powder, the fairy dust of the artistic world, takes center stage. With its shimmer, mica powder elevates your creation to new heights. In this project, I use a Let’s Resin blue mica powder that enhances the drops of UV resin.
In this step, you brush the mica powder onto both the silicon mold and across the surface of the hard UV resin droplets. Each gentle brushstroke applies the mica powder to the cured droplets, creating a spectacle of sparkle and elegance. This step isn’t just about aesthetics – it’s about infusing your coaster with the mica powder.
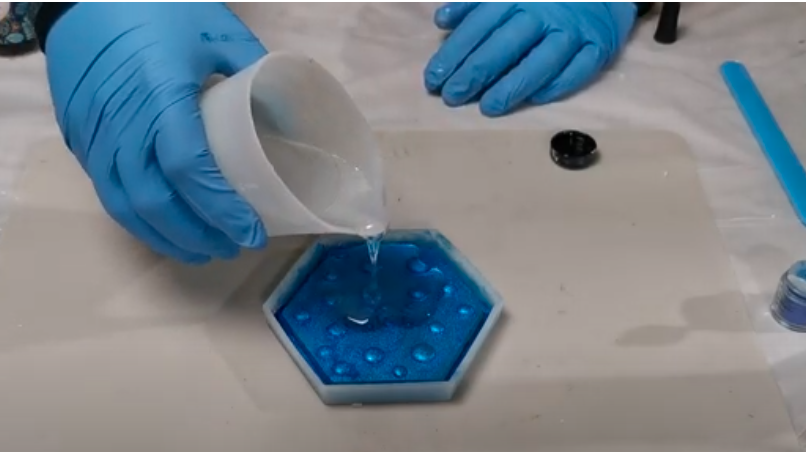
The Grand Finale: Resin Art Pouring and Sealing
Now, the pièce de résistance – the resin pour that brings the masterpiece together. Pour the resin (I recommend you color it with a solid dark color such as black) into the mold. The resin covers the droplets, forming a seal across the mica powder and the droplets.
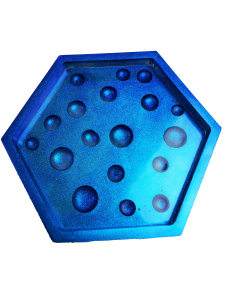
Now it’s time for the hard bit…now you wait. 24 hours later The final result is a coaster that defies convention, a conversation starter that encapsulates both functionality and artistic expression. It’s a balance between nature’s and human creativity, frozen in time and adorned with a touch of mica elegance.
The Joy of Creation
As we finish up the resin artistic process, you might be wondering how you can start a project like this or even do resin for the first time. Like they say every journey, even an artistic one starts with the first step.
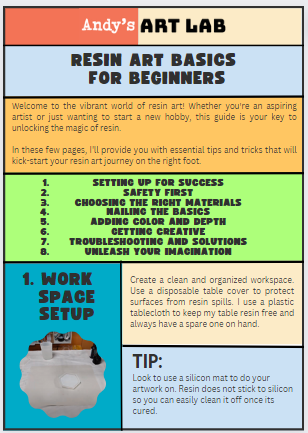
To help you out I have created this Resin art for beginners guide which goes over resin basics to help you with your learning. You can get it here on this page by signing up at the bottom of this article and it will be emailed to you.
Also don’t forget you can watch the instructional video above here on this page or navigate to it on YouTube. If you visit our YouTube channel then we would love it if you hit the like button and subscribed to Andy’s Art Lab for more artistic adventures.
Share your thoughts in the You Tube videos comments section, and stay tuned for more awe-inspiring creations. Until next time, keep crafting, keep creating, and keep adding that touch of magic to your world.