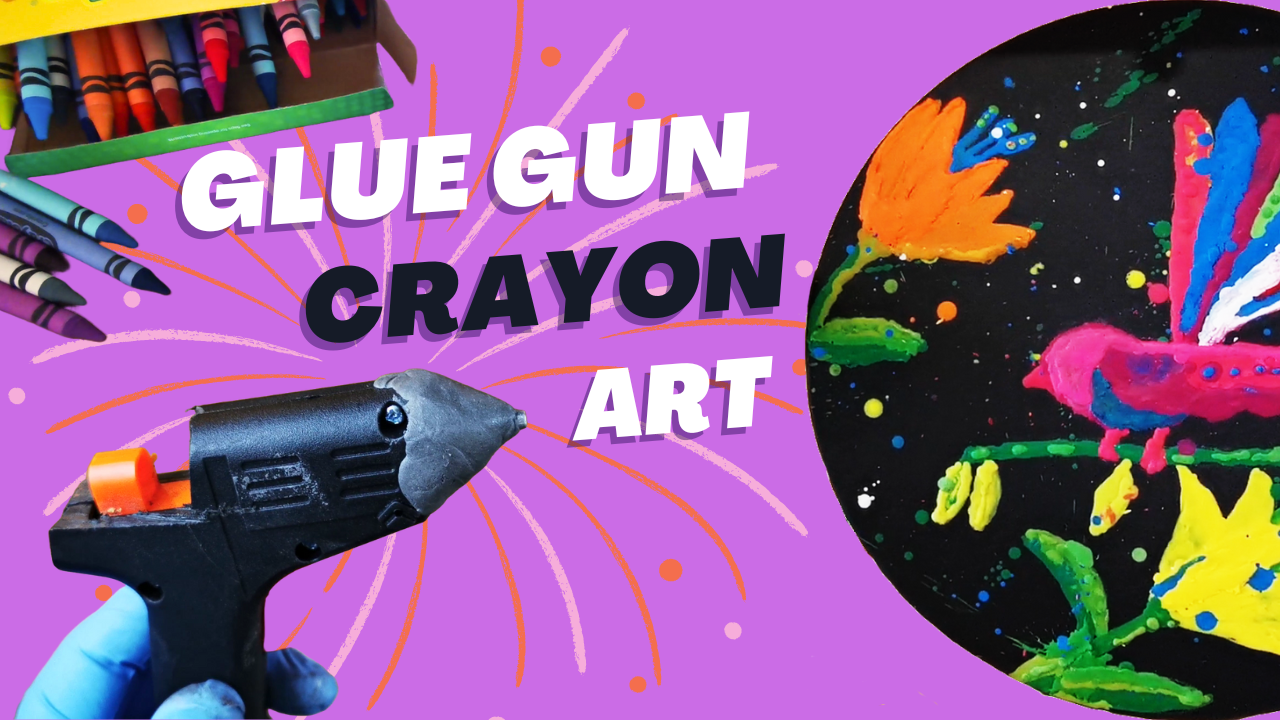
Over the years, various art forms have emerged, each presenting unique techniques and materials. One such captivating art form that I have recently discovered through an artist called UnicornColorTherapy on TikTok is that of melted crayon art.
Can you put Crayons in a Glue Gun? Yes, yes you can, although it can be a little messy! Melted crayon art involves the transformation of traditional colored wax crayons into a mesmerizing masterpiece. By melting and blending the crayons (Color Bending), artists bring forth an explosion of vibrant colors that capture the eye and ignite the imagination. This technique offers a fresh and exciting way to create art that is both visually stunning and emotionally captivating.
The process of creating a melted crayon painting is as intriguing as the finished artwork itself. If this is something you would like to try then I have created this step-by-step video on YouTube which shows you the steps that I detail in the article below. Don’t forget to subscribe to my channel while you are there so you can see more videos like this 🙂
Materials needed for Melted Crayon Art
Crayons (Crayola Crayons are the best to use)
Glue Gun – Low Temperature 10 watt
Artboard (Hard surface eg wood)
High temp Epoxy Putty
Hacksaw or similar cutting tool
Utility Knife
Modding the Glue-Gun for Crayons
Get yourself a cheap low-temperature 10-watt glue gun to create melted crayon art. Once you have this Glue-gun it’s time to immediately void its warranty by modding it to work better with crayons.
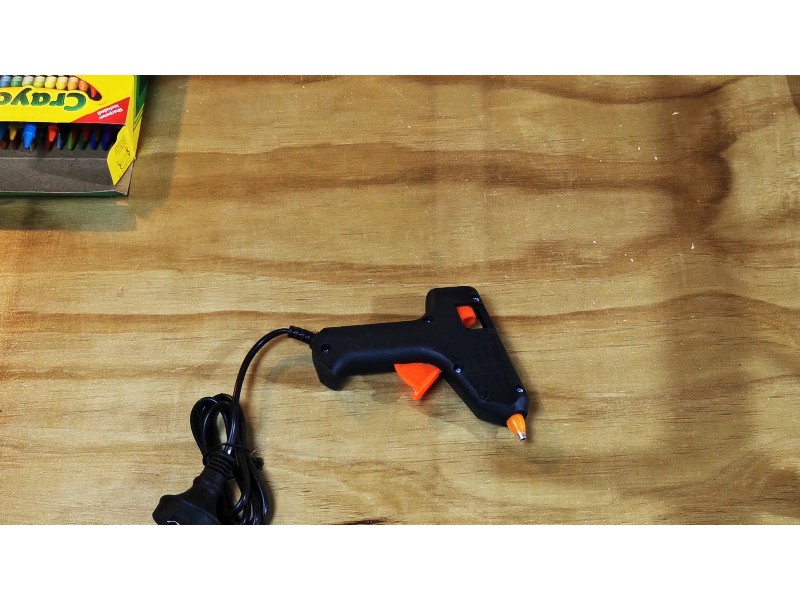
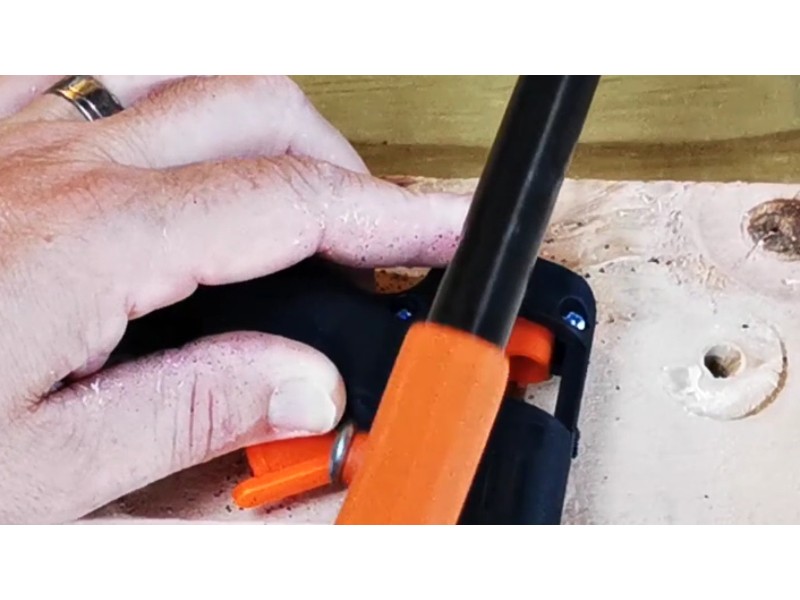
There are two mods or hacks that need to be made. The first is cutting off the housing around where the glue stick normally feeds through. This removes the back guard and exposes the glue gun feed so you can use your thumb to press the crayon through to the melting chamber. I used a hacksaw to cut the back piece of plastic and then used a utility knife to clean up around the area I had cut.
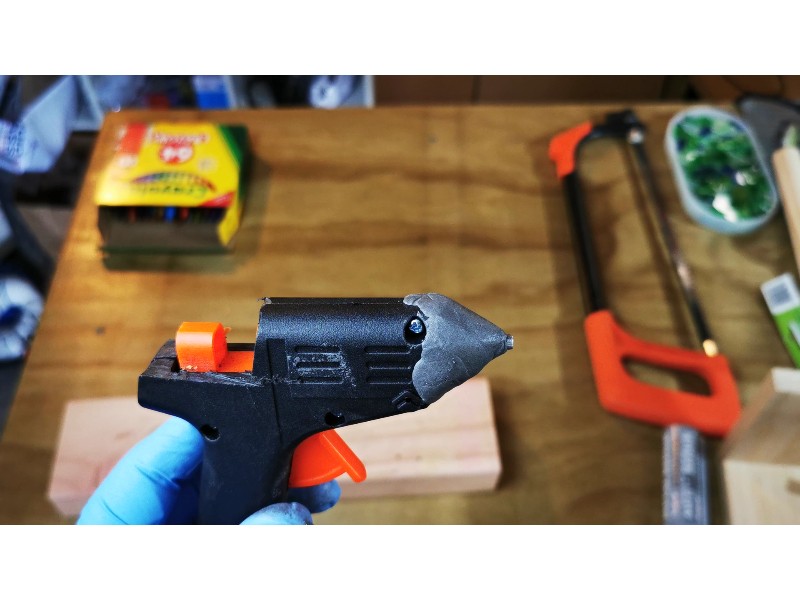
The second mod that is needed is to add some High-Temperature Epoxy Putty around the tip of the glue gun so that it heat-proofs the nozzle and prevents it from falling off (Glue guns were not designed to have crayons shoved through them) JB Weld makes a high temp variety but if you can’t find this brand then your automotive shop should have something from an alternative brand you can use. Mix the epoxy resin putty parts A and B as per the instructions and then mold this putty around the glue gun nozzle. Mine took about 15 minutes to cure, but its worth waiting at least an hour before using the Glue Gun after this mod.
The EASY way to remove Crayon paper
Another great tip from UnicornColorTheraphy is a quick way to get the paper off your crayons. If you have ever tried to peel paper off crayons you know it NEVER comes off in one go and you can spend quite a bit of time removing it.
So here is the trick! You put the box of crayons in the freezer! That’s right, the freezer. With your crayons in the freezer for around 3 hours, it removes the bond between the crayon and the paper. By holding the outer paper and pressing up from the crayon tip the crayon will slide up allowing you to better grip the crayon and slide it out of the paper.
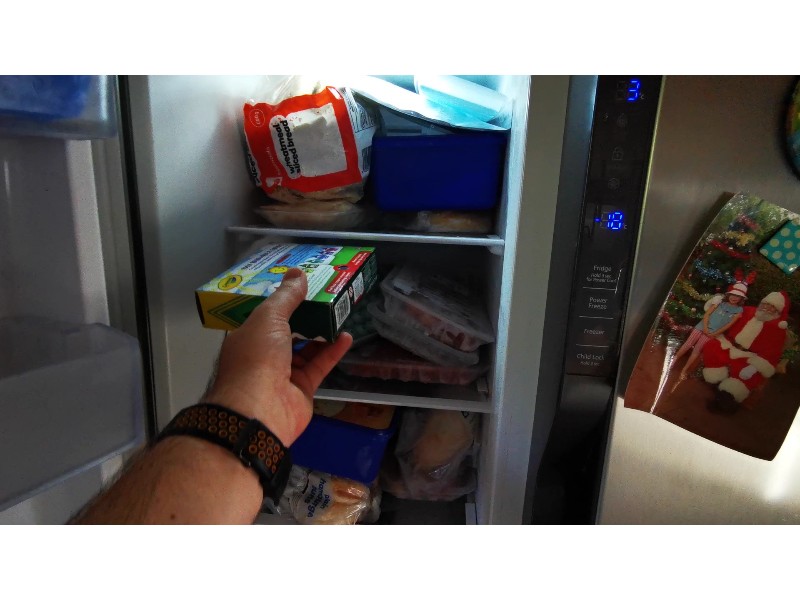
Now this may not work every time. Out of a box of 64 Crayons I had around 5 where this method didn’t work and I had to revert to the old-fashioned peeling of the paper away from the crayons.
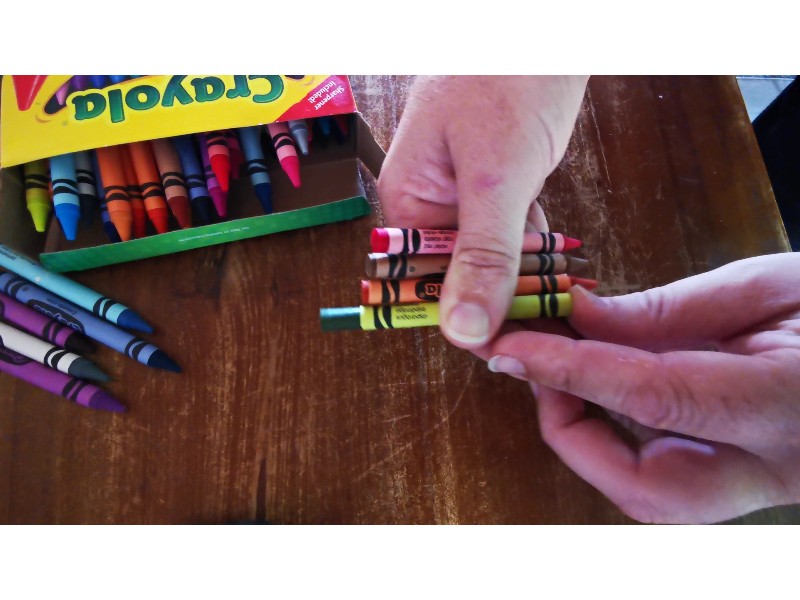
Prepare your Artboard
The Crayon once dried can unfortunately crack if it is flexed. It’s important then that you have a rigid artboard to melt your crayon onto. I have found wood, especially MDF board a great medium. I also use this for my Resin artwork. Check out my Resin Art blog posts and videos if this is something that interests you.
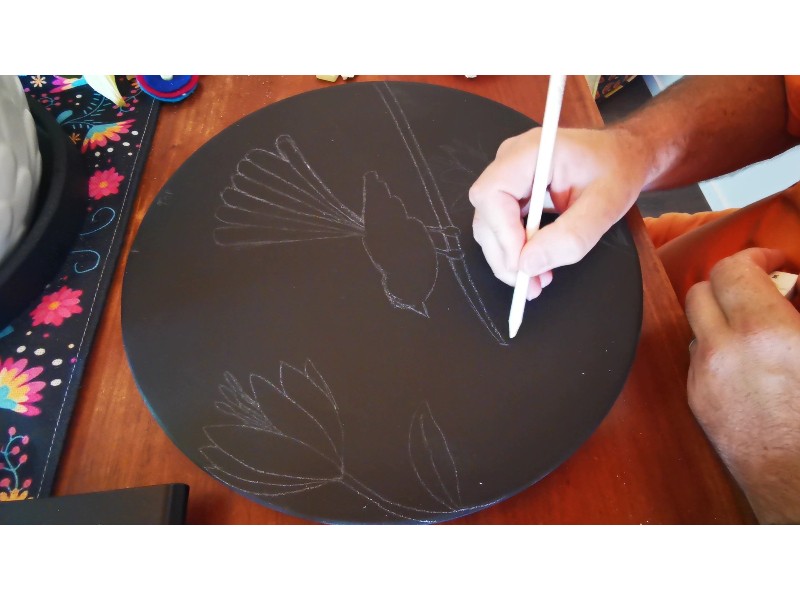
I find preparing the MDF by painting it black with a roller gives a smooth finish and the black color contrasts the brightly colored crayons.
Getting Creative with Crayon in the Glue Gun
Now that you have your artboard prepared and your hacked glue gun ready, it’s time to get creative with Crayons! Load an unwrapped crayon into the glue gun and load it into the melting chamber by clicking the trigger a few times.
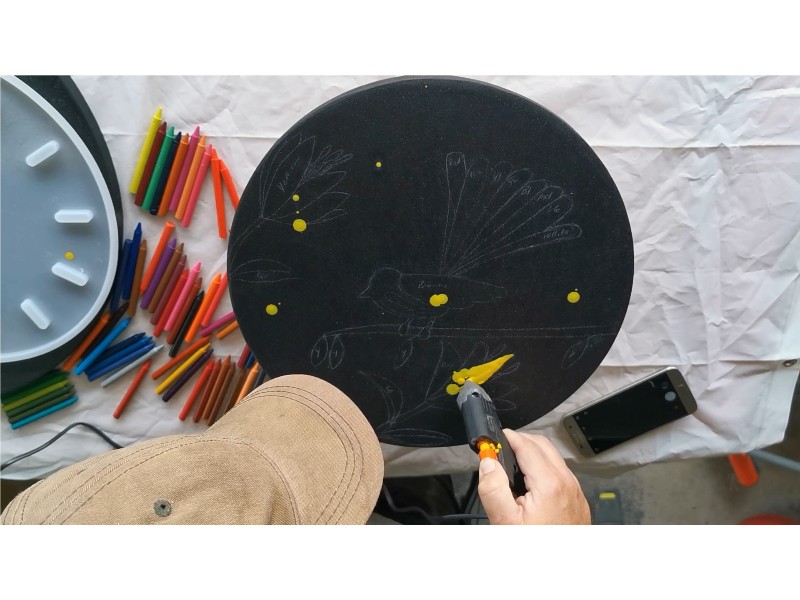
I have a silicon mold to the side where I drip the first of the crayon that comes out of the glue gun. At this stage, it’s all about experimentation on how your glue gun behaves. I normally drip some crayons onto the artboard from a height to create some small crayon splatters. I like this style of messy art. You can also pool the crayon on the artboard and push it around while it’s in its melted state.
Once it hardens you can add another layer or color to accent what you have already put down. Pressing the crayon through the glue gun with the trigger pulled will push through more crayons but be patient and let it melt in the gun or you will push through semi-melted crayon that then dries as very brittle.
Melted Crayon Painting as an Art Form
One of the most appealing aspects of melted crayon art is the endless possibilities it offers. You can experiment with various techniques, such as using different color combinations, incorporating stencils or silhouettes, or adding other mediums like paint or markers. This versatility ensures that every artwork becomes a unique reflection of the artist’s style and vision.
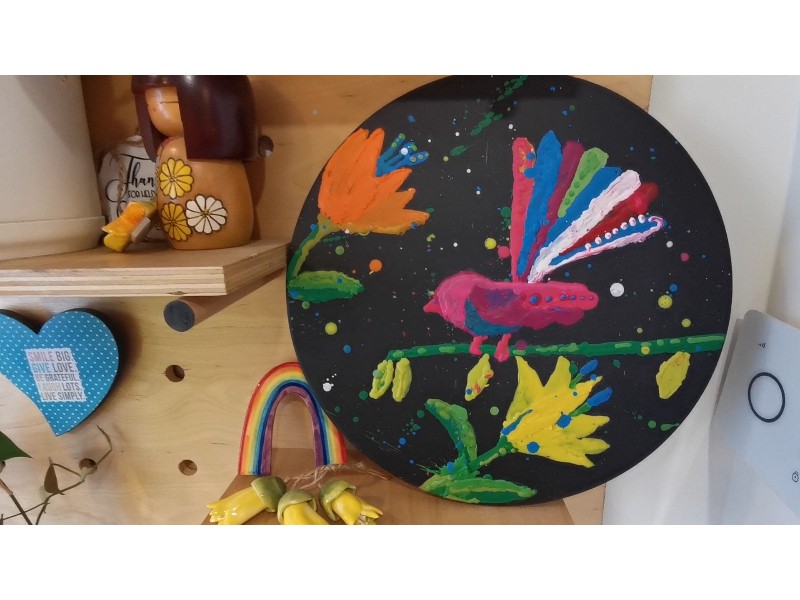
Melted crayon art is not confined to any specific skill level. Whether you are an experienced artist or just beginning to explore your artistic side, this technique is accessible to all. It encourages individuals to step outside their comfort zones, experiment with new techniques, and discover their unique artistic voice.
I have found melted crayon art to be a captivating and innovative art form that breathes new life into traditional crayons. Its ability to combine vibrant colors, limitless creativity, and therapeutic benefits makes it an exciting avenue for artists and art enthusiasts alike. So, gather your crayons, embrace your imagination, and let the colors melt onto the canvas, as you embark on a colorful journey of self-expression.


