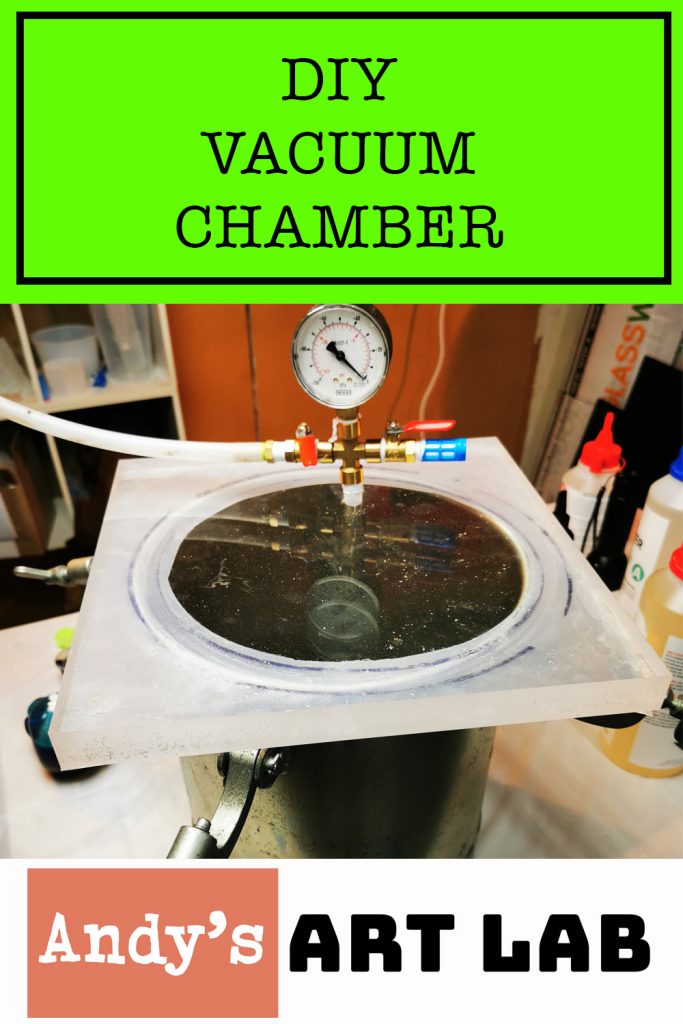


Welcome, it’s Andy from the Art Lab! Today, we’re going to take this old pressure pot and turn it into a vacuum chamber.
Vacuum chambers are used for removing all air from the container and this can be useful if you want to remove air bubbles from liquids such as Resin or Silicon.
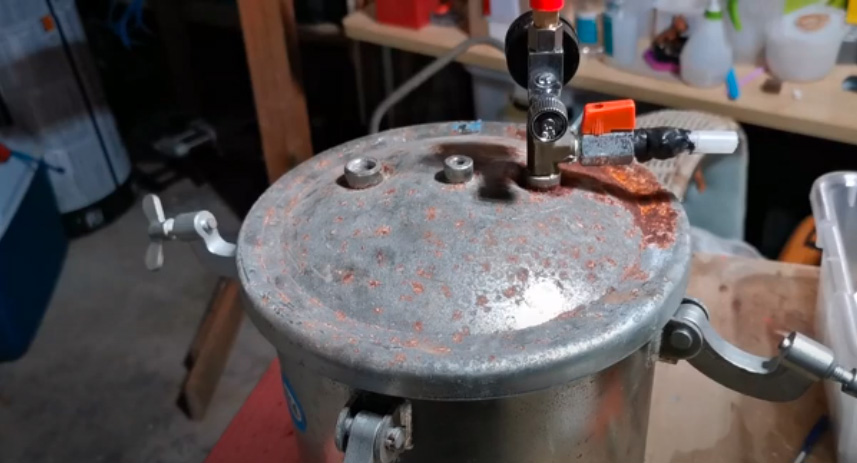
Initially, mine started life as a pressure pot for spray painting, it was generously donated by my father who was no longer using it. You can use any strong steel pot such as a pressure cooking pot to do this conversion.
Materials you will need (Build List)
Pot: 10litre or 2 1/2gal
Acrylic Glass 20mm / 3/4″ depth. Ensure that it is bigger than Pot size eg 300x300mm. (11.8″ x 11.8″)
Silicon Mat: https://amzn.to/3JNphtS
Spray Glue: https://amzn.to/3pwZ7Fa
Thread tape: https://amzn.to/43kb5Qj
11.5mm drill bit for BSP fittings: https://amzn.to/44iSMMo
7/16 drill bit for NPT fittings: https://amzn.to/3DaQQcQ
1/2 Tapping bit for BSP 1/4 Tapping bit for NPT: https://amzn.to/44i6j78
Tapping handle: https://amzn.to/44kI4VY
Vacuum Pump: https://amzn.to/43mQHxI
FITTINGS:
Cross female 1/4″ 2 x male/male 1/4″
2 x ball valve 1/4″
1/4″ Male to 10mm hose
1/4″ male air filter
Don’t want to DIY?
Vacuum Pot only: https://amzn.to/44eTTgo
Vacuum Pot and Pump: https://amzn.to/3pqr5SX
Step by Step:
First off, mark the outside of the pot with a pencil or pen. The acrylic comes with a protective sheet that you can peel off later, it provides a good surface for drawing. Once marked, Add about 10 mm – 3/8th inch to the markings. Mark the desired hole, which I made off-center to allow me to see the resin inside through the acrylic when extracting air bubbles using the vacuum.
To help lubricate the drill bit and prevent sticking, I used some WD-40 on the acrylic. It’s better to take it slow while drilling, adding more WD-40 as needed until you have drilled the hole all the way through. After that, use a tap to create the thread. Apply pressure while slowly threading the tap into the hole. I clamped down the acrylic to the table to keep it steady during this process.
Finding information about the appropriate drill bit size and thread tapping can be challenging. For my quarter-inch BSP valves, I used an 11.5 mm drill bit and a half-inch Tap thread. In the US, you would use a 7/16 drill bit and a quarter-inch tap for your NPT fittings.
Tapping the acrylic allows you to install the fittings directly. This makes it easier to attach them.
The next step is to create an air seal so that the lid can tightly seal to the pot. I used a sheet of silicone for this purpose. Mark out the edge of the pot onto the silicon. Then, mark out a small inner circle. I used a bucket of paint to provide a 10 mm clearance 3/8th inch and used a knife to cut it out. To attach the silicone, I used some adhesive spray
Spray the adhesive onto the silicone, and put a paper towel underneath to catch any excess. Press the silicone onto the acrylic, aligning it with the marked circle.
Now, it’s time to install the fittings. I used a cross valve, two male-to-male connectors, a couple of stop valves, and an air filter. Use the plumber’s tape to secure the fittings. You can find all these parts on Amazon or Aliexpress if you want cheaper options. Finally, attach the fittings to the acrylic.
To complete the setup, I acquired a second-hand vacuum pump. You can find new vacuum pumps on Amazon. Connect the vacuum pump to the valve fitting. I found that using a little Vaseline helped create a proper seal between the lid and the pot. Once everything was properly sealed, the vacuum chamber held its vacuum.
To test the functionality, I used a marshmallow. Placing it into the pot, the pressure dropped, and the marshmallow expanded as the air was sucked out. This was a good test to ensure the vacuum was functioning correctly and without leaks. I also tested it with different resin pours, observing the bubbles being removed.
If you found this article and the embedded video helpful and are interested in DIY-ing your own vacuum chamber, please give this my YouTube channel a follow and a thumbs up and hit that notification bell to follow me as I continue working and creating art and projects in Andy’s Art Lab.