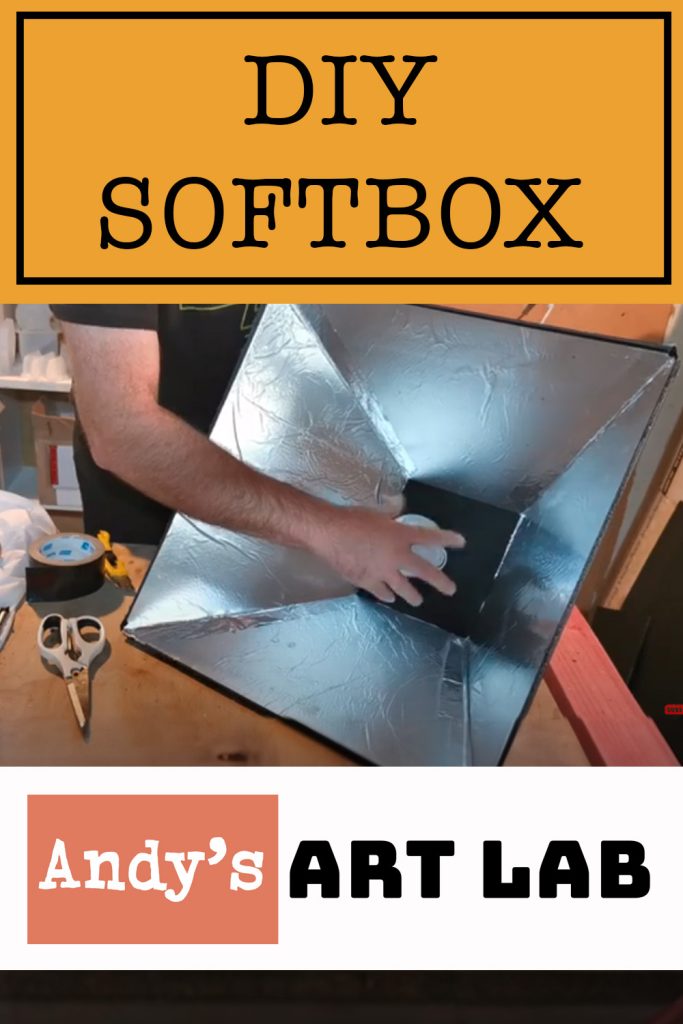


Welcome to Andy’s Art Lab! If you’re a content creator looking to enhance the lighting in your YouTube videos without breaking the bank, we have just the solution for you – a DIY softbox! Don’t worry if you’re not an expert DIY-er; I’ll guide you through the step-by-step process of building your very own softbox using easily accessible materials. If you are more of a video-watching person than a reader, then scroll to the bottom and watch my YouTube video.
Creating this lighting has been a game changer for me in the Art Lab where I need to be able to not only film myself with good lighting for my YouTube channel and Tik Tok channel but also because I need to also film the process of creating artwork. It’s still a long way from being the perfect lighting solution but it’s made a huge difference for someone on a tight budget.
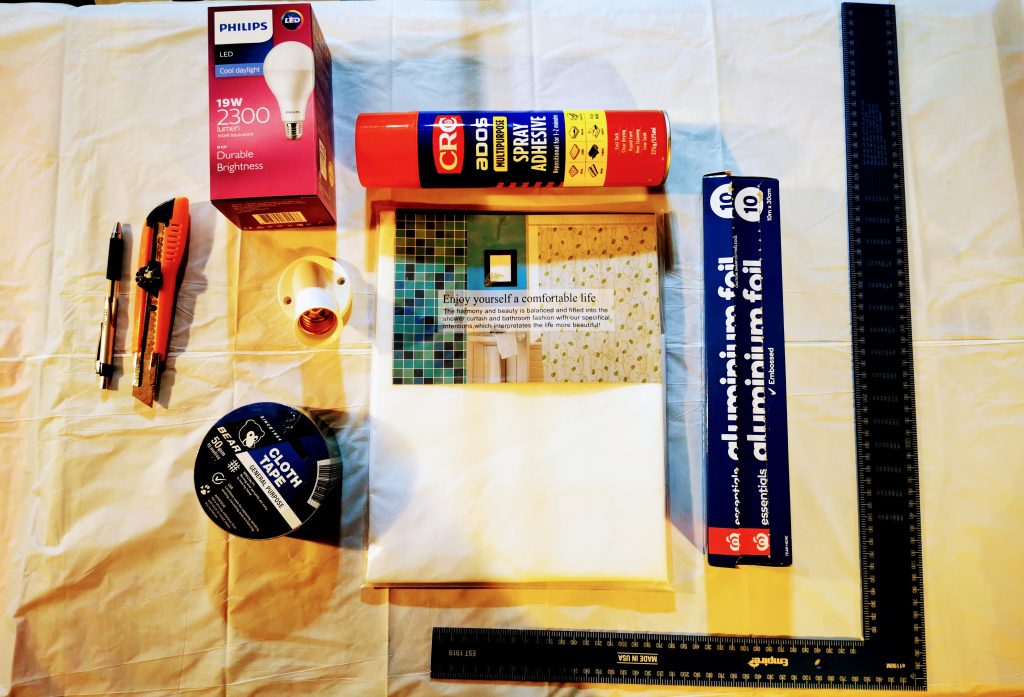
Before we begin, here’s a list of the items you’ll need for this project: some cardboard or foam board (depending on your preference), tape, a lightbulb, a batten holder, a knife, a shower curtain, spray adhesive, aluminum foil, and a ruler.
Creating the Panels:
The first step is to measure and cut out the panels for the softbox. We’ll be creating isosceles trapezoid panels to form the sides of the box. The measurements you’ll need are as follows: the short side should be 18 cm (7 in), the long side 48 cm (19 in), and both sides 30 cm (12 in). Once you’ve cut one trapezoid, you can use it as a template to cut the remaining three.
Building the Middle Section:
Next, we’ll focus on the middle section of the softbox, where the bulb holder and lightbulb will be placed. This section should measure 18 cm (7 inches) by 18cm (7 inches) square. To find the center of the square piece of cardboard, simply draw a line straight across the middle, creating horizontal and vertical lines that intersect at the center. Place the bulb holder in the center and mark out a circle using a knife to cut out the hole, allowing the holder to fit snugly.
Applying the Reflective Surface:
To maximize the light output, we’ll add a reflective surface to the cardboard panels. Aluminum foil works wonders for this purpose. Spray the cardboard with adhesive, and carefully place the aluminum foil over it, ensuring good coverage across all of the cardboard. Be patient during this step, as placing the foil neatly can be a bit tricky. Cut the foil with some overhang for two sides of the lightbox.
Assembling the Softbox:
Now it’s time to join the sides of the softbox together. Spray adhesive onto the overhanging part of the foil, and then use it as a join between the non-overhanging parts of the cardboard panels. Push down on the manifold to create a tight seal along the joints. Repeat this process for all four panels until you have a sturdy and reflective softbox frame.
Adding the Back Panel:
To complete the softbox structure, place the back panel in position, and secure it by taping all four sides to the frame. Ensure a snug fit to prevent any light leaks. insert an LED bulb into the batten holder before you add the defuser in the next step or you will have to remove it again to add the bulb 😂 (I know from experience)
Installing the Diffuser:
For a soft, diffused lighting effect, we’ll add a diffuser to the top of the softbox. A shower curtain works perfectly as a diffuser. Lay the softbox down on the shower curtain, leaving about a 20mm (1 inch) gap around the edge. Cut the curtain to size using a craft knife or scissors, and fold it around the corners before taping it securely to the frame. Your diffuser should be firmly attached, providing that professional soft lighting.
Testing and Fine-Tuning:
Finally, I recommend using a bright 19-watt LED bulb from a reputable brand, like Philips, to ensure maximum light output. Now comes the fun part – positioning your DIY softbox! Depending on your filming setup and requirements, experiment with different angles and distances to achieve the perfect lighting for your videos.
The Finished Softbox
Congratulations, you now have your very own budget-friendly DIY softbox! Illuminate your creativity and elevate the quality of your YouTube and Tik Tok content with this simple yet effective lighting solution. Don’t forget to share your experience with us, and happy filming!