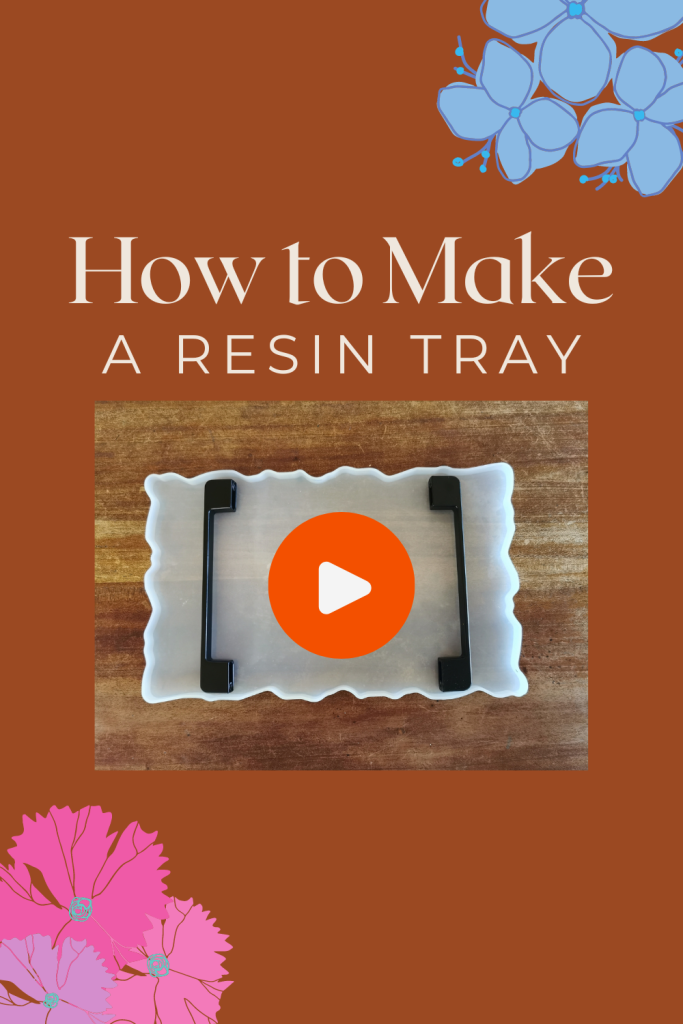


Welcome, fellow resin enthusiasts! 🎨✨ Let’s embark on a creative adventure as we craft a mesmerizing resin tray with handles using the fascinating dirty pour technique. 🤩
What’s the Dirty Pour Technique All About?
The dirty pour technique is a resin art technique that creates a unique and vibrant effect by pouring multiple colors of resin into a mold. You can either keep the resin mold flat and make your own swirl patterns or you can use tilting or moving the mold to create a swirling pattern. 🌈✨
Materials You’ll Need for Your Resin Tray:

Epoxy Resin: Our main ingredient for this artistic endeavor. Opt for a casting resin for the best result as the tray mold is around 10mm or ⅜” in thickness. It will take longer to cure but the results will be better with the longer cure time allowing bubbles to rise to the surface and pop.
Resin Pigments: I like to use mica powder for the majority of my coloring of resin as it contains a bit of sparkle as well, however pigment paste or resin dye can work just as well.
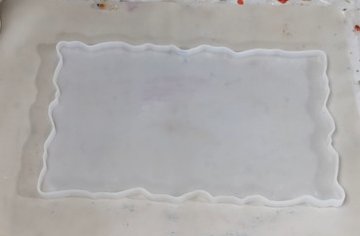
Silicone tray mold: There are lots of places you can source silicone molds for resin crafts and artwork. I prefer to use Lets Resin. Lets Resin ships worldwide and has UK, CA and US distribution hubs. If you use the code ANDY10 when checking out you can get 10% off your order.
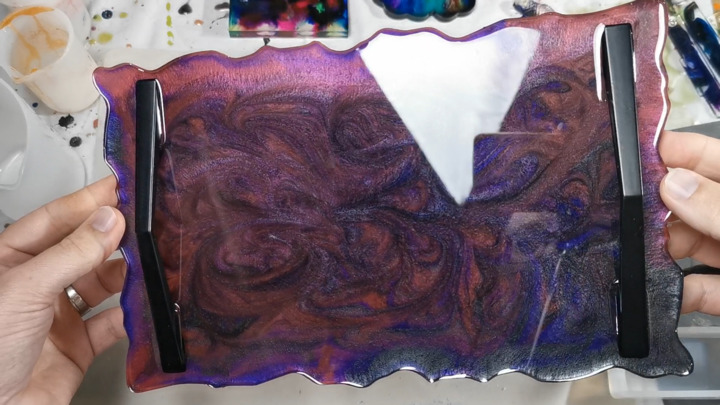
Handles: You can get cheap draw handles from your local hardware store. Home Depot, Bunnings, B&Q … whatever your country’s local hardware store may be. You can also find them online with Amazon, Temu, Aliexpress etc.
Mixing Cups and Stir Sticks: Essential tools for our creative process.
Heat Gun or Torch: Say goodbye to bubbles with these handy tools. I also use a bic longneck lighter to get any bubbles that may be around the silicone edge as it’s less harmful to the silicone mold than using a gas torch. You can also spray bubbles with isopropyl alcohol but make sure you dont spray alcohol and follow that up with a flame or otherwise 💥💥BOOM💥💥
Drop Cloth or Old Newspapers: Keeping our workspace tidy during the fun and make the cleanup easy 🙂
Step 1: Preparing Like a Pro
Get your Silicone tray mold and ensure it is clean and ready for the resin. I like to give it a quick wipe-out with 99% isopropyl alcohol to make sure all the dust or leftover resin from previous use can be whipped away.
Step 2: Mixing Colors
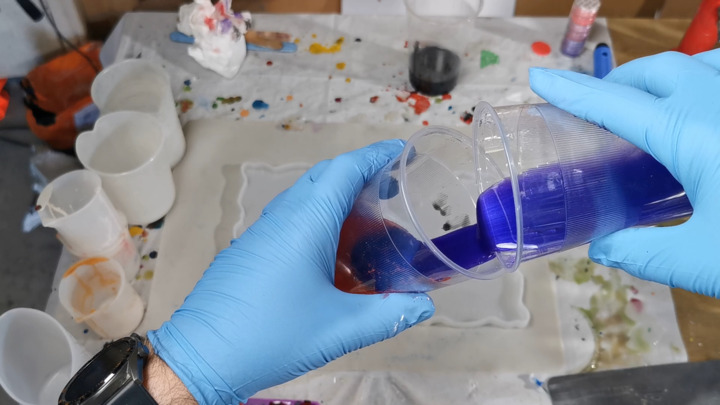
Measure and mix your resin as per the manufacturer’s instructions. Ensure you scrape the sides and bottom of your mixing cup to ensure all parts are mixed. I like to use the two-cup method where you pour the mixed resin into a new mixing cup or jug to then mix for an additional minute or two.
Pour the mixed epoxy resin into separate cups for each color. Decide how many colors you would like to have. In most cases, I like to use just 3 colors. Add resin pigments or Resin dye into each cup and stir slowly to color the resin without introducing more bubbles.
Step 3: The Dirty Pour
Tray Setup: Lay down your drop cloth, newspapers, or silicone mat to catch any drips. Get ready for the fun part!
Pour your colorful resin mixtures into one of the cups, one after another. I lean the main cup receiving the colors at a 45-degree angle which means the colors layer on top of each other better.
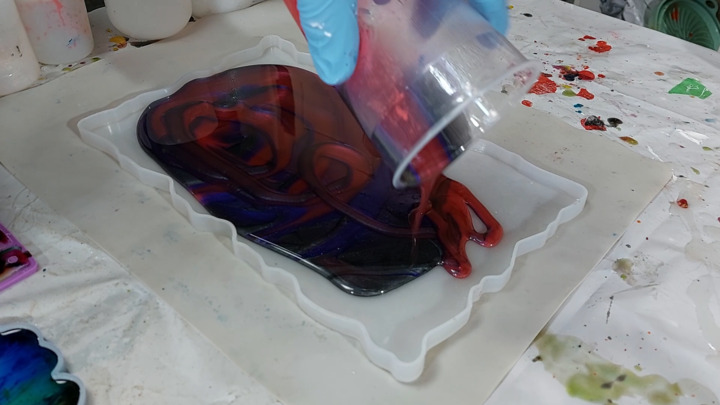
Now that all of the colors are in one cup it’s time to pour our dirty resin into the silicone tray mold. Now there are a few ways you can do this pour. In my YouTube video I based this on the ring technique, followed up by doing swirls with my stirng stick.
Dirty Pour Techniques for Silicone Molds
There are several different dirty pour techniques that can be used to create different effects, including:
- Ring Technique:
This technique involves pouring the different colors of resin into the mold in a circular pattern, starting from the center and working your way out. The colors will naturally blend together as you pour, creating a ring effect.
- Straight Line Technique:
This technique involves pouring the different colors of resin into the mold in straight lines, either horizontally or vertically. The colors will blend together slightly as you pour, creating a striped effect.
- Zigzag Technique:
This technique involves pouring the different colors of resin into the mold in a zigzag pattern. The colors will blend together slightly as you pour, creating a zigzag effect.
- Blob Technique:
This technique involves pouring the different colors of resin into the mold in blobs or drops. The colors will blend together slightly as you pour, creating a more abstract effect.
- Swirl Technique:
This technique involves pouring the different colors of resin into the mold and then using a tool, such as a toothpick or skewer, to swirl the colors together. This will create a more blended and swirly effect.
- Cellular Technique:
This technique involves adding silicone oil to the resin before pouring it into the mold. The silicone oil will create cells or bubbles in the resin, creating a unique and textured effect.
- Petri Dish Technique:
This technique involves pouring the resin into a petri dish and then using a toothpick or skewer to create cells or patterns in the resin. This will create a unique and abstract effect.
Step 4: Managing Bubbles
Bubble-Free Zone: We want to ensure we don’t have bubbles in our finished product so you can use a heat gun or torch to gently move over the surface of your tray, eliminating any bubbles and enhancing the overall finish. I also like to use a long neck lighter to pop any bubbles that are close to the silicone mold edge to reduce any damage to it that a hotter blue flame would cause.
Step 5: Patience Pays Off
Time to wait: Allow your tray to cure thoroughly, if you are using deep pour or casting resin, and could be a couple of days due to the slower curing time. You can check if the resin has cured. There are a few ways to test if the resin has cured:
- Touch test: Gently touch the surface of the resin. If it feels hard and tack-free, it is likely cured.
- Fingernail test: Lightly press your fingernail into the surface of the resin. If it leaves no indentation, the resin is likely cured.
- Cure time test: Check the manufacturer’s instructions for the specific resin you are using. The cure time will vary depending on the type of resin and the ambient temperature. Only touch the resin after this time has past as to not indent it that the above tests could cause.
Step 6: Can you Handle it
Once the Resin has cured, it’s now time to add the handles. Some people like to drill holes and add the handles to their tray that way but I prefer to make the design a bit more seamless by using resin to hold the handles in.
This time you can use an art or finishing resin. While the resin tray is still in the mold mix and add a layer of clear resin on top of your colored dirty pour. Place the handles into the clear resin around 25mm or an inch from the ends. Position them so they are straight. It doesn’t need to be perfect.

Step 7: Ready to serve
Once the clear resin has cured, which is a lot quicker with art or finishing resin you can then remove the tray from the Silicone mold.
Depending on how much resin shrinkage and surface tension edges that you may have you can decide if the tray is complete or if the edges are sharp and high you can add one more coat of clear resin to the tray now that it’s out of the mold.

I really like making these trays as they have so many uses.
Breakfast Delight: Imagine serving breakfast treats on your stunning tray – a delightful start to any day.
Home Décor Charm: Place it on your coffee table as a captivating conversation piece.
Versatile Organizer: Use it to hold keys, jewelry, or cherished trinkets, adding both style and functionality to your space.
Resin art is a delightful blend of experimentation and expression. So, let your creativity flow, embrace the beauty of colors, and create your own magical masterpiece with this simple resin tray dirty pour! 🎨✨
If this article was helpful please help me out by pinning it to Pinterest or by sharing it to your social networks. Thanks
Andy
Andy’s Art Lab