


Hello, creative comrades! Welcome to our Art Lab blog, where we transform the ordinary into extraordinary, one creative project at a time. Today, we’re immersing ourselves in the vibrant world of resin dye. We’re not just coloring resin; we’re crafting a masterpiece. So, prepare your gloves, your goggles, your silicon molds, pick up that respirator, and let’s dive in!
Resin Dye Magic
You might be wondering, why resin dye? The answer lies in the color. Liquid Resin dye offers you the liberty to create any shade you desire, from the softest pastels to the most vibrant neons. It’s like having a rainbow at your fingertips! The versatility of resin dye is what makes it a favorite among DIY enthusiasts and artists alike.
Resin dye is a liquid pigment that is used to color resin. It is available in a variety of colors, including both opaque and transparent colors. Resin dye can be mixed with resin to create a variety of effects, including solid colors, gradients, and patterns. It can also be used to create marbled effects.
Liquid dye for resin is typically applied to resin by adding it to the before it is poured into a mold. The amount of dye that is added will depend on the desired color intensity. However we like to do things differently here at Andy’s Art Lab, so we are going to do things about face.
Supply List
Resin Dye
Casting Resin
Silicon Coaster Mold
Resin Tools (measuring, stirring etc)
Protective Equipment
Let’s get dotty
Today, we’re going to explore a stunning effect using resin dye to create dots on a silicon mold, then pour resin over them. This technique might sound simple, but the result is nothing short of spectacular. It’s an easy way to create a visually striking piece that can serve as a conversation starter or a personalized gift.
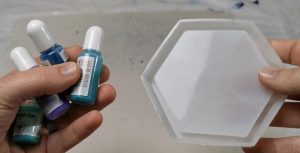
First, we’re going to take our silicon mold and our chosen resin dye colors. Remember, this is your canvas, so feel free to get creative with your color choices. For this demonstration, we’re going for a pastel vibe, so I’ve chosen a mix of vibrant blues, greens, and a pop of yellow. However, the color palette is entirely up to you. You could opt for a monochromatic scheme, a gradient effect, or even a rainbow of colors.
This whole process is about unleashing your creativity so don’t be tied down to putting dots of resin dye. Experiment and put lines, circles, or whatever pattern your heart desires.
Resin time
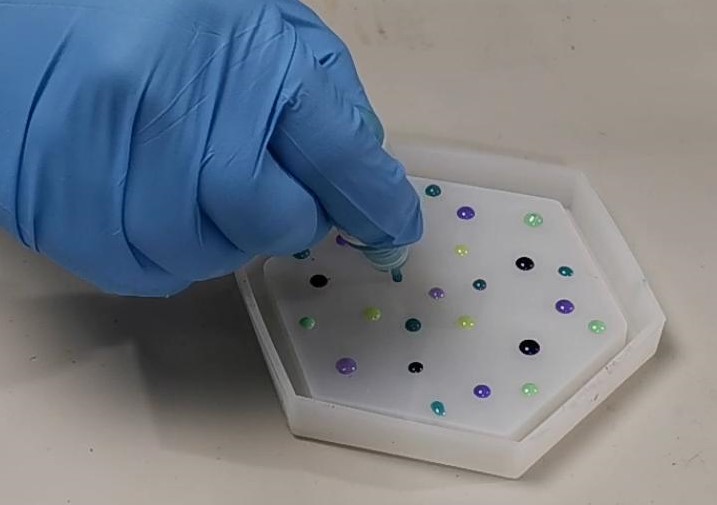
Now, we’re going to apply our resin dye in dots onto the silicon mold. The size and placement of the dots are entirely up to you. For this demonstration, we’re going for a random pattern, but you could create a gradient effect, a geometric pattern, or even spell out a word or name. This step is where your creativity truly shines, so don’t be afraid to experiment!
Once we’re happy with our dots, it’s time to pour our resin. Make sure to pour slowly and evenly to avoid any bubbles. As the resin spreads, it will blend with the dye, creating a beautiful, colorful effect. It’s like watching a painting come to life!
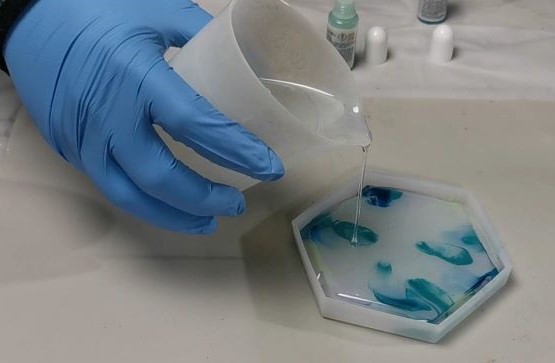
In the video I created below (hint; subscribe to our YouTube channel) you will see that I started from the inside and moved slowly to the outside of the coaster mold. Other options include the opposite where you start filling from the outside and move into the middle, and even moving in lines from the inside to the outside of the mold as you pour.
Party in the Mold!
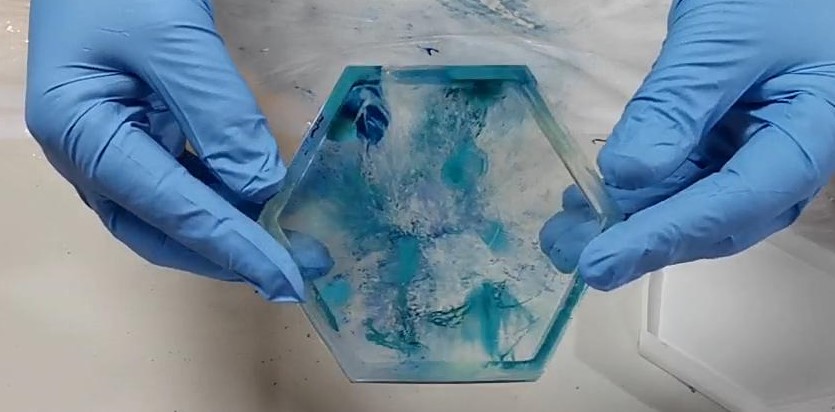
And voila! Once the resin has cured, you’re left with a stunning, one-of-a-kind piece. It’s like a party in a mold! The vibrant colors and unique patterns make each piece a work of art.
But don’t stop there! There are so many other ways to color resin. You can use alcohol inks for a watercolor effect, mica powders for a metallic sheen, or even everyday items like food coloring or eyeshadow. The possibilities are endless!
So, there you have it, folks. A simple, fun, and creative way to add a splash of color to your resin projects. Remember, the world is your canvas, so don’t be afraid to experiment and make it your own. Until next time, keep creating!
Thanks for joining us today. If you enjoyed this article, don’t forget to subscribe to our weekly newsletter and share it with your fellow creative enthusiasts. And remember, creativity is contagious, so pass it on!